|
| "I can stop! Really, at any time." -- "Beefy" Tomato |
What does one do when it becomes apparent that your plants have a drinking problem...ya head on down to your new favorite local nursery and treat yourself to some new toys, and a bit of garden bling! Okay, so calling it an intervention may have been slightly dramatic, but really it made for a great excuse to spend some awesome father-daughter time together in the garden.
 |
| Designer Tomato Scaffolding |
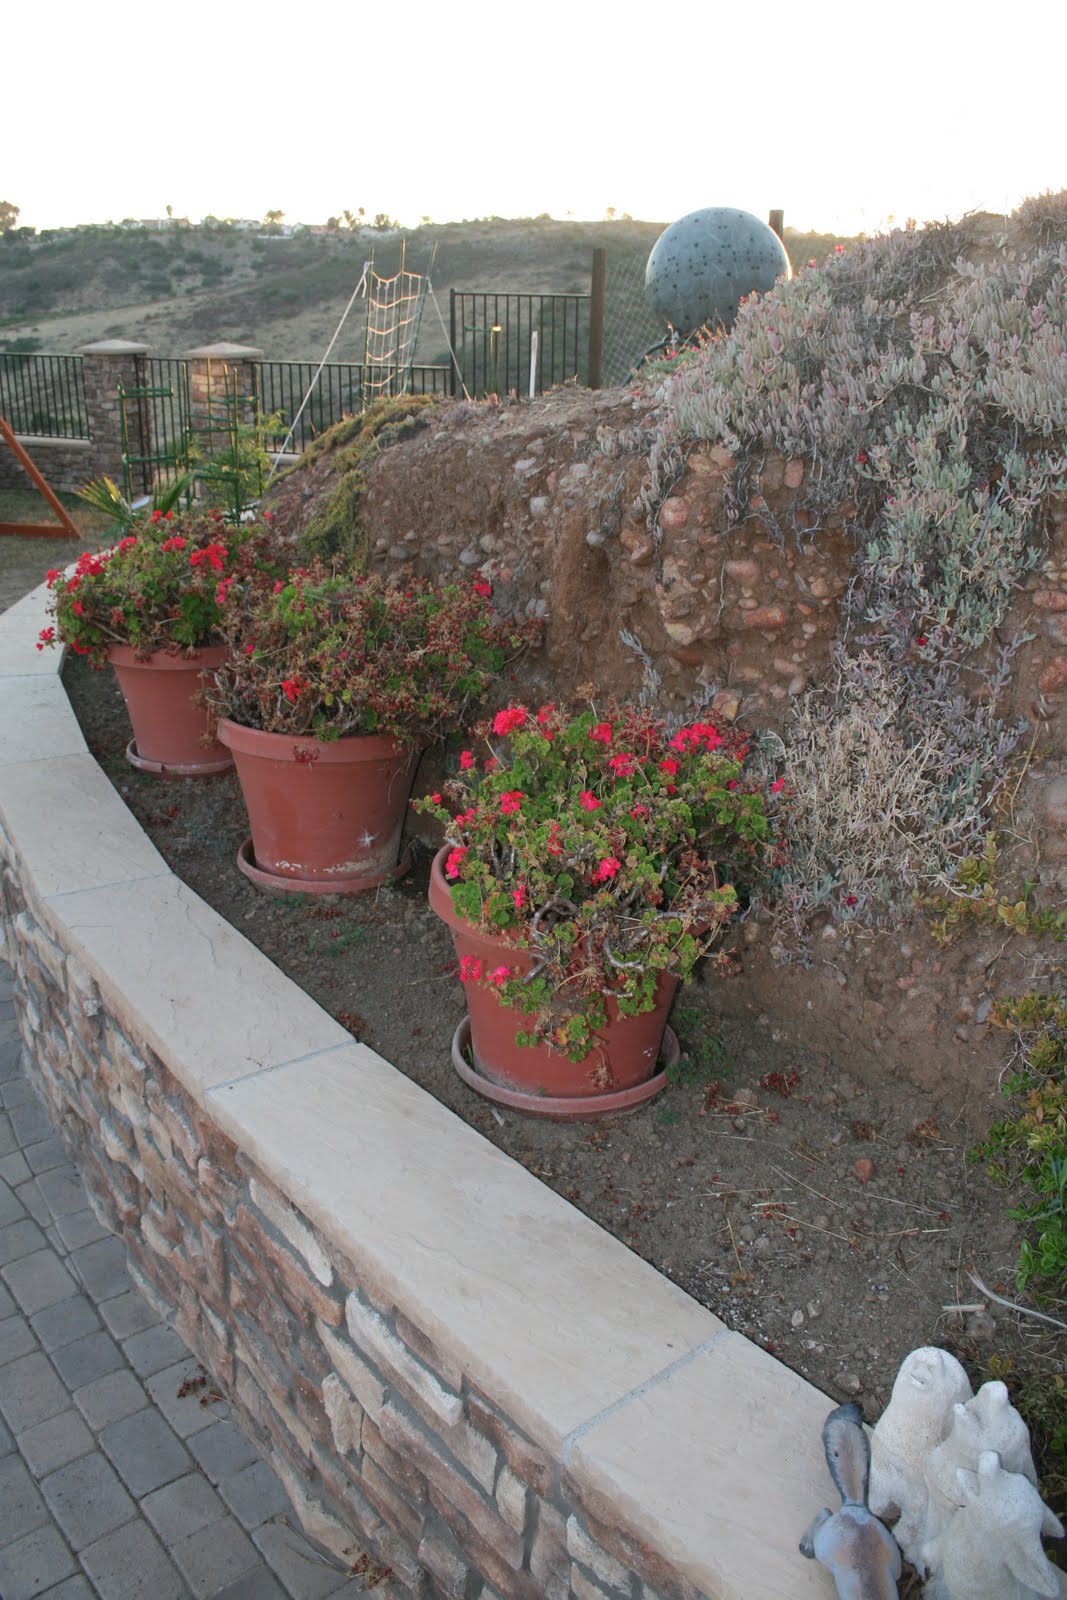
I'd say it all started Friday afternoon, when we stopped off at the local Home Depot to pick up a couple of trellises. During the proceeding week, we had experienced a significant warming trend, resulting in a growth spirt for most of our plants. At the Depot, I found and bought four wrap around cages. Called the "Ultamato Plus", these cage kits came with three 5-foot long stakes, and nine adjustable (10 to 14 inches) horizontal supports. What really attracted me to these cages is the ability modify the configuration of each cage (teepee, cone or straight column shape), and that when were done, the cages can be broken down for reuse later.
Back home and in the garden, I choose the straight configuration, or at least that's what I attempted to create. Let's just say, at times the rocks in the soil posed a few minor challenges. The cages were a breeze to set up, so much so that our daughter even helped to clip the supports onto the stakes.
With the cages constructed, I decided to spend some time pruning our plants, and weeding. That's when I noticed several problems with out plants. First, I noticed that the zucchini sprouts - mentioned and pictured during my last post - had yellowed and all but died; second, the pepper plants appeared to have started to develop blossoms, but they too faded; and finally, the leaves of our tomato plants appears to be wilting (as pictured above). I suspect that the problem might be associated with either amount of water the plants are getting, or nutrient level of the soil. So, Saturday morning, after a very very fun father-daughter pancake breakfast, we drove over to a nearby nursery.
Wow! I felt like we were both two kids in a candy store. Hand in hand, excitedly we explored the nursery, looking at all the beautiful colors, stopping to smell all of the sweet flower blossoms. My daughter would spy something new, look up at me, and say "look at this", or "what's that". Fun, fun, fun!
At Armstrong Nursery, we picked up an at home soil pH an nutrient test kit, a soil moisture probe, a box of organic vegetable garden fertilizer, a pair of garden shears, and...a humming bird. "Agh, it's so cute" my daughter said as she played with it's spring hinged wings, and that sealed the deal for me. Into the cart it went, and shortly thereafter our daughter proudly placed it into the garden. Total Visa card moment, right! "Metallic humming bird...price, six bucks, the price of seeing such pure joy on your daughters face...priceless".
 |
| Soil Moisture Levels - July 9, 2011 @ 19:30 |
 |
| Optimal Soil Moisture Level Measured |
That evening, with our new soil moisture meter in hand, I made measurement at each plant grouping, at depths of one, two, and three inches. Based on the meters literature, the different plants the optimum moisture content number should be between 2 and 4. My reading were much, much higher. Oopps. With this information I created the following plots. Okay, granted they might be a little difficult to understand, so let me help. On the right side the graph are depths which the measurements were taken. On the bottom are the numbers 1 through 5, representing the five plant grouping (1 - Tomatoes, 2 - Peppers, 3 - Cucumbers, 4 - Zucchini, and 5 - Beans). Finally, the soil moisture is represented a multiple colored layers, coming out of the page toward the reader. Of the two graphs to the right, the top graph represents current soil moisture conditions, while the lower graph represents optimal soil moisture conditions. It is my goal to make the top graph look like the lower.